以前に Thunderbird 向けのオートコンフィグを設定しましたが、iPhone のメール自動設定も行ったので、記録しておきます。
ディレクトリの準備
Thunderbird のオートコンフィグ置き場として定められた /var/www/html/.well-known/autoconfig/mail が既にあるため、今回は autoconfig の中に iphone というディレクトリを作成して配置することにします。
mkdir -p /var/www/html/.well-known/autoconfig/iphone※ご自身の環境に合わせて設置してください。
Content-Type の設定
また前回、アクセス制限のために .htaccess を設置しましたが、それを流用して Content-Type の設定を入れます。
AddType application/x-apple-aspen-config .mobileconfig

<RequireAny>
  Require all denied
  Require ip xxx.xxx.xxx.xxx
  Require ip yyy.yyy.yyy.yyy
</RequireAny>
構成プロファイルを作成
構成プロファイル(user@example.com.mobileconfig)を作成します。
vi /var/www/html/.well-known/autoconfig/iphone/user@example.com.mobileconfigメールサーバーの環境に合わせて編集します。
<?xml version="1.0" encoding="UTF-8"?>
<!DOCTYPE plist PUBLIC "-//Apple//DTD PLIST 1.0//EN" "http://www.apple.com/DTDs/PropertyList-1.0.dtd">
<plist version="1.0">
<dict>

    <key>PayloadContent</key>
    <array>
        <dict>

            <key>EmailAccountType</key>
            <string>EmailTypeIMAP</string>

            <key>EmailAddress</key>
            <string>user@example.com</string>

            <key>IncomingMailServerHostName</key>
            <string>mail.example.com</string>

            <key>IncomingMailServerPortNumber</key>
            <integer>993</integer>

            <key>IncomingMailServerUseSSL</key>
            <true/>

            <key>IncomingMailServerUsername</key>
            <string>user@example.com</string>

            <key>IncomingMailServerAuthentication</key>
            <string>EmailAuthPassword</string>

            <!-- パスワードを手打ちする場合は不要 -->
            <key>IncomingPassword</key>
            <string>Password123</string>

            <key>OutgoingMailServerHostName</key>
            <string>mail.example.com</string>

            <key>OutgoingMailServerPortNumber</key>
            <!-- STARTTLS の場合は 587 -->
            <integer>465</integer>

            <key>OutgoingMailServerUseSSL</key>
            <true/>

            <key>OutgoingMailServerUsername</key>
            <string>user@example.com</string>

            <key>OutgoingMailServerAuthentication</key>
            <string>EmailAuthPassword</string>

            <key>OutgoingPasswordSameAsIncomingPassword</key>
            <true/>

            <key>PayloadIdentifier</key>
            <string>com.example.mymailpayload</string>

            <key>PayloadType</key>
            <string>com.apple.mail.managed</string>

            <key>PayloadUUID</key>
            <!-- uuidgen コマンドで生成した値 -->
            <string>AAAAAAAA-BBBB-CCCC-DDDD-EEEEEEEEEEEE</string>

            <key>PayloadVersion</key>
            <integer>1</integer>

        </dict>
    </array>

    <key>PayloadType</key>
    <string>Configuration</string>

    <key>PayloadIdentifier</key>
    <!-- 複数の構成プロファイルを登録する場合、重複しない名前を付ける -->
    <string>com.example.myprofile</string>

    <key>PayloadUUID</key>
    <!-- uuidgen コマンドで生成した値 -->
    <string>FFFFFFFF-GGGG-HHHH-IIII-JJJJJJJJJJJJ</string>

    <key>PayloadVersion</key>
    <integer>1</integer>

</dict>
</plist>
UUID は uuidgen コマンドで生成して置き換えてください。
uuidgen
(out) AAAAAAAA-BBBB-CCCC-DDDD-EEEEEEEEEEEE
以上で設定は完了です。
QR コードの作成
iPhone から https://example.com/.well-known/autoconfig/iphone/user@example.com.mobileconfig にアクセスすれば、構成プロファイルをダウンロードできます。
打ち込むのが面倒なので QR コードを作成しました。
構成プロファイルのインストール
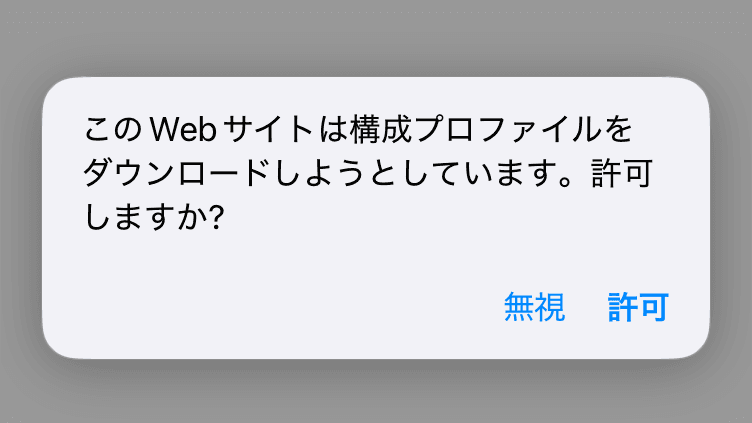
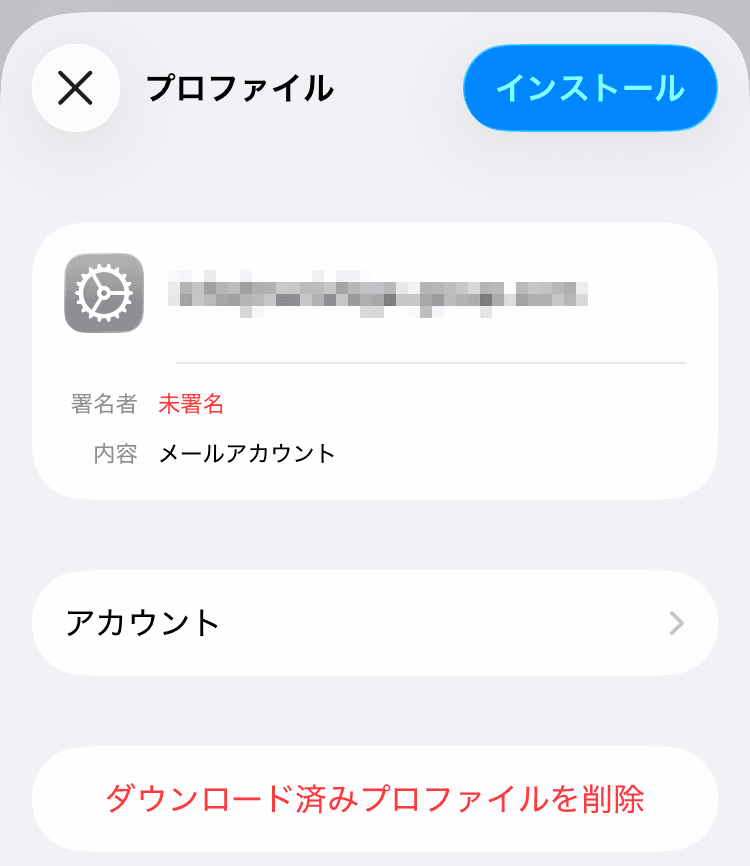
作成した QR コードを読み込んだところ、構成プロファイルをダウンロードできました。
「設定」アプリを開き、「iPhone の設定を完了する」を選択します。
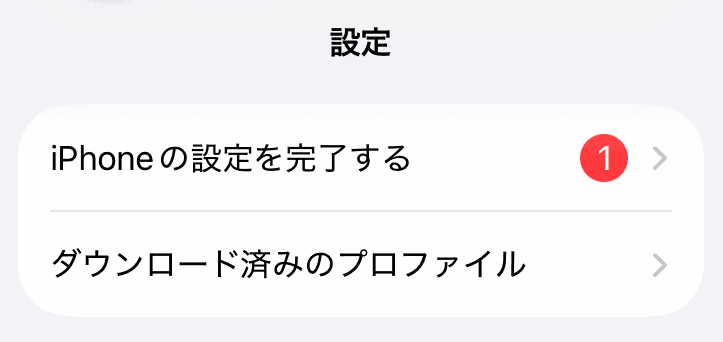
プロファイルを「インストール」すれば、メールの設定は完了です。
まとめ
手動でメールの設定をする際に、STARTTLS(587)で認証を試みるため、SSL(465)の場合はタイムアウトするまで待たされていました。
構成プロファイルを使えば無駄な待ち時間もなく、スムーズに設定を行うことができます。

コメント