CentOS 8 は 2021年12月31日 でサポート終了したため、新しい環境で構築される方は下記の RHEL9(AlmaLinux 9)向けの記事を参照してください。

Red Hat Enterprise Linux 9 の初期設定
Red Hat Enterprise Linux 9 の初期設定手順。SELinux の無効化、su 制限、chrony、kdump 無効化、dnf-automatic の自動更新、EPEL・Remi リポジトリの追加と基本パッケージの導入までを解説します。
psychoco.net
2022.06.28
そろそろ CentOS 8 にも手を出してみようと思い、構築の手順を記録しておく。

キャンペーン中だったので ConoHa VPS の 1GB プランでサーバーを立てることにした。
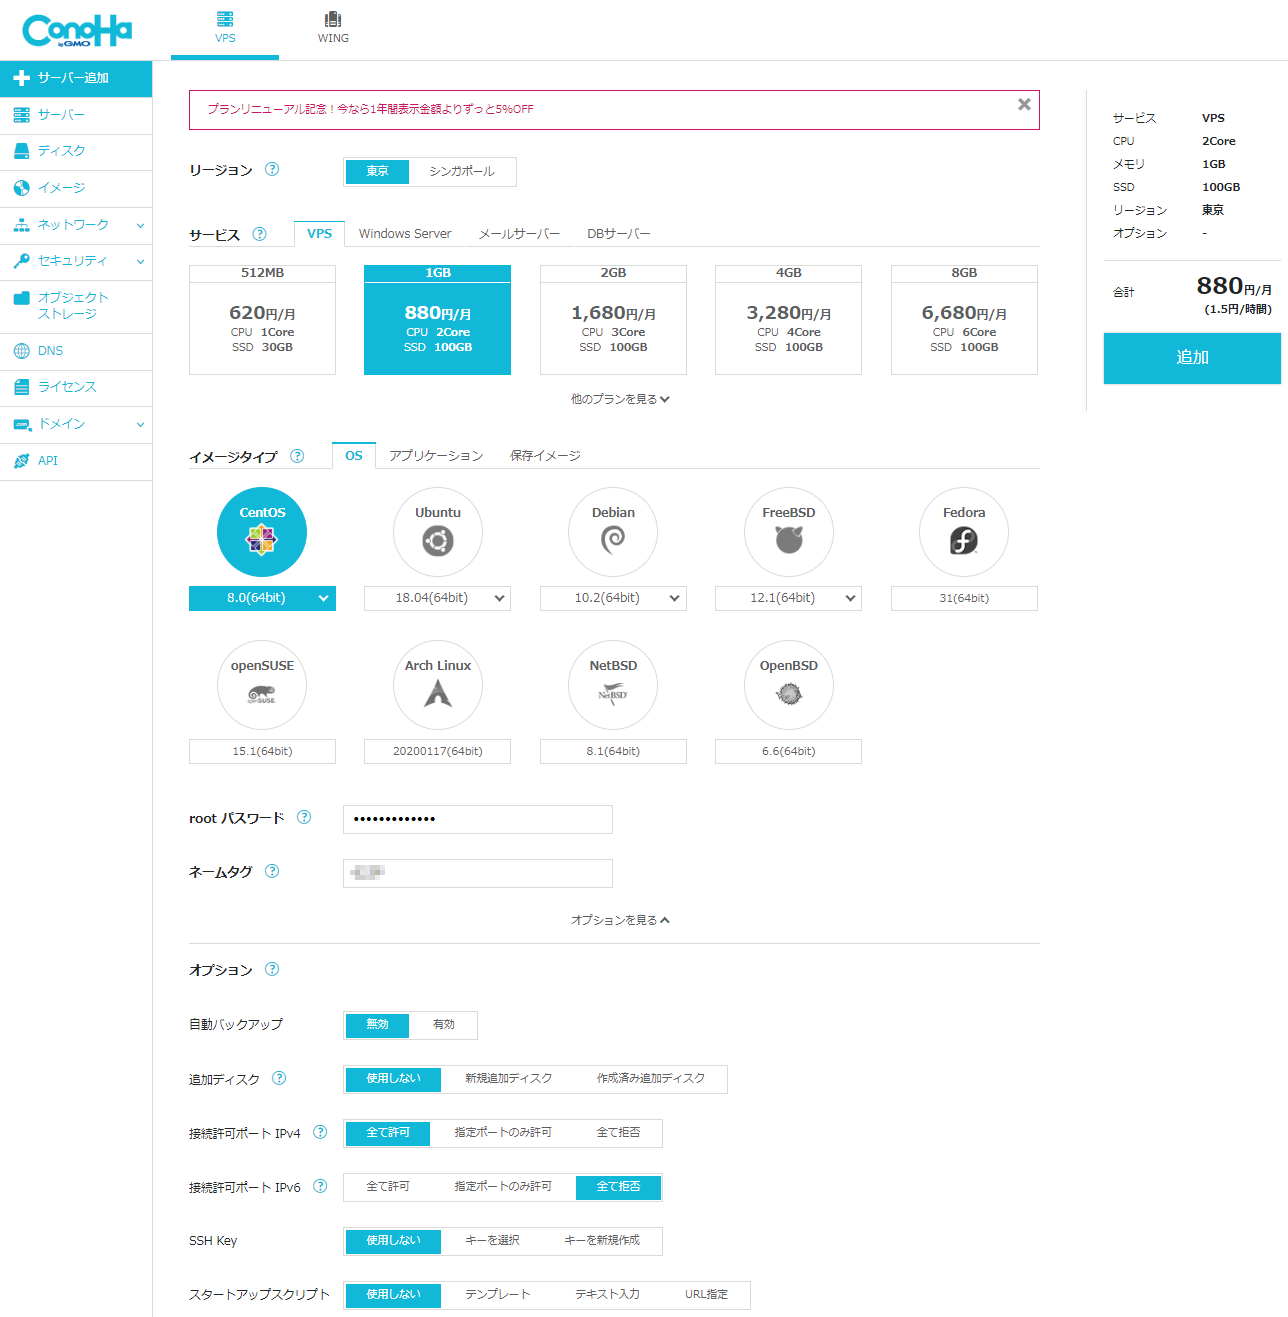
IPv6 は使わないのですべて拒否にした。
初期設定
ログインした後、すべてのパッケージを更新する。
dnf update -yユーザーを追加して、
useradd ユーザー名
passwd ユーザー名
(out) Changing password for user ユーザー名.
(out) New password:
(out) Retype new password:
(out) passwd: all authentication tokens updated successfully.
wheel グループにユーザーを追加して、sudo で root に昇格できるユーザーを制限する。
usermod -G wheel ユーザー名#auth required pam_wheel.so use_uid
↓
auth required pam_wheel.so use_uidssh に root でログインすることを禁止
PermitRootLogin yes
↓
PermitRootLogin no
chrony で時刻合わせの設定
#pool 2.centos.pool.ntp.org iburst
server ntp.nict.jp iburst
pool ntp.jst.mfeed.ad.jp iburst
systemctl restart chronydパッケージの自動更新
パッケージを自動更新するため dnf-automatic をインストールする。
dnf install dnf-automatic#apply_updates = no
apply_updates = yessystemctl enable dnf-automatic.timer
systemctl start dnf-automatic.timerファイアウォール(firewalld)の設定
admin ゾーンの作成
cockpit や ssh、管理ツールのポートなどは管理者のみアクセスできる admin ゾーンを作成し、自宅や職場からのみアクセス許可する。
管理用 IP アドレスのリストを作成
vi ip.txtxxx.xxx.xxx.xxx ← 自宅などの IP アドレス
yyy.yyy.yyy.yyy ← 職場などの IP アドレスadmin ゾーンの作成
firewall-cmd --new-zone=admin --permanent
(out) success
ipset を作成
firewall-cmd --permanent --new-ipset=admin --type=hash:net
(out) success
IP アドレスリストファイルを ipset に流し込む
firewall-cmd --permanent --ipset=admin --add-entries-from-file=ip.txt
(out) success
読み込まれた ipset を admin ゾーンに適用
firewall-cmd --permanent --zone=admin --add-source=ipset:admin
(out) success
admin ゾーンにサービスを追加
firewall-cmd --add-service=cockpit --zone=admin --permanent
(out) success
firewall-cmd --add-service=ssh --zone=admin --permanent
(out) success
(out)
(out) ■ FTP を使用する場合
firewall-cmd --add-service=ftp --zone=admin --permanent
(out) success
(out)
(out) ■ FTP の PASV ポートを使用する場合
firewall-cmd --add-port=40000-40010/tcp --zone=admin --permanent
(out) success
(out)
(out) ■ 管理画面などのポート
firewall-cmd --add-port=60000/tcp --zone=admin --permanent
(out) success
設定反映
firewall-cmd --reload
(out) success
後片付け
rm ip.txtpublic ゾーンの調整
先程 admin ゾーンに ssh と cockpit を追加し、管理者から使用できるようにしたので public ゾーンからは削除する。
firewall-cmd --remove-service=cockpit --zone=public --permanent
(out) success
firewall-cmd --remove-service=ssh --zone=public --permanent
(out) success
ウェブサーバーとして使用するため http と https をサービスに追加し、メールが受信できるように smtp のサービスも追加した。
firewall-cmd --add-service=http --zone=public --permanent
(out) success
firewall-cmd --add-service=https --zone=public --permanent
(out) success
firewall-cmd --add-service=smtp --zone=public --permanent
(out) success
設定反映
firewall-cmd --reload
(out) success
fail2ban のインストール
dnf install fail2ban whoiscp -p /etc/fail2ban/jail.conf /etc/fail2ban/jail.d/jail.local[DEFAULT]
# "bantime" is the number of seconds that a host is banned.
bantime = 10m
↓
bantime = 1d
# A host is banned if it has generated "maxretry" during the last "findtime"
# seconds.
findtime = 10m
↓
findtime = 1h
# "maxretry" is the number of failures before a host get banned.
maxretry = 5
↓
maxretry = 3
#
# ACTIONS
#
#destemail = root@localhost
↓
destemail = root
#sender = root@<fq-hostname>
↓
sender = root
#mta = sendmail
↓
mta = postfix
#banaction = iptables-multiport
↓
banaction = firewallcmd-ipset
#banaction_allports = iptables-allports
↓
banaction_allports = firewallcmd-allports
#
# JAILS
#
[sshd]
enabled = true ← 追加
#
# Mail servers
#
[postfix]
enabled = true ← 追加
[postfix-sasl]
enabled = true ← 追加
#
# Miscellaneous
#
[recidive]
enabled = true ← 追加bantime = 600
↓
bantime = 86400fail2ban の起動と自動実行
systemctl start fail2ban
systemctl enable fail2ban

コメント